Altera FPGA board
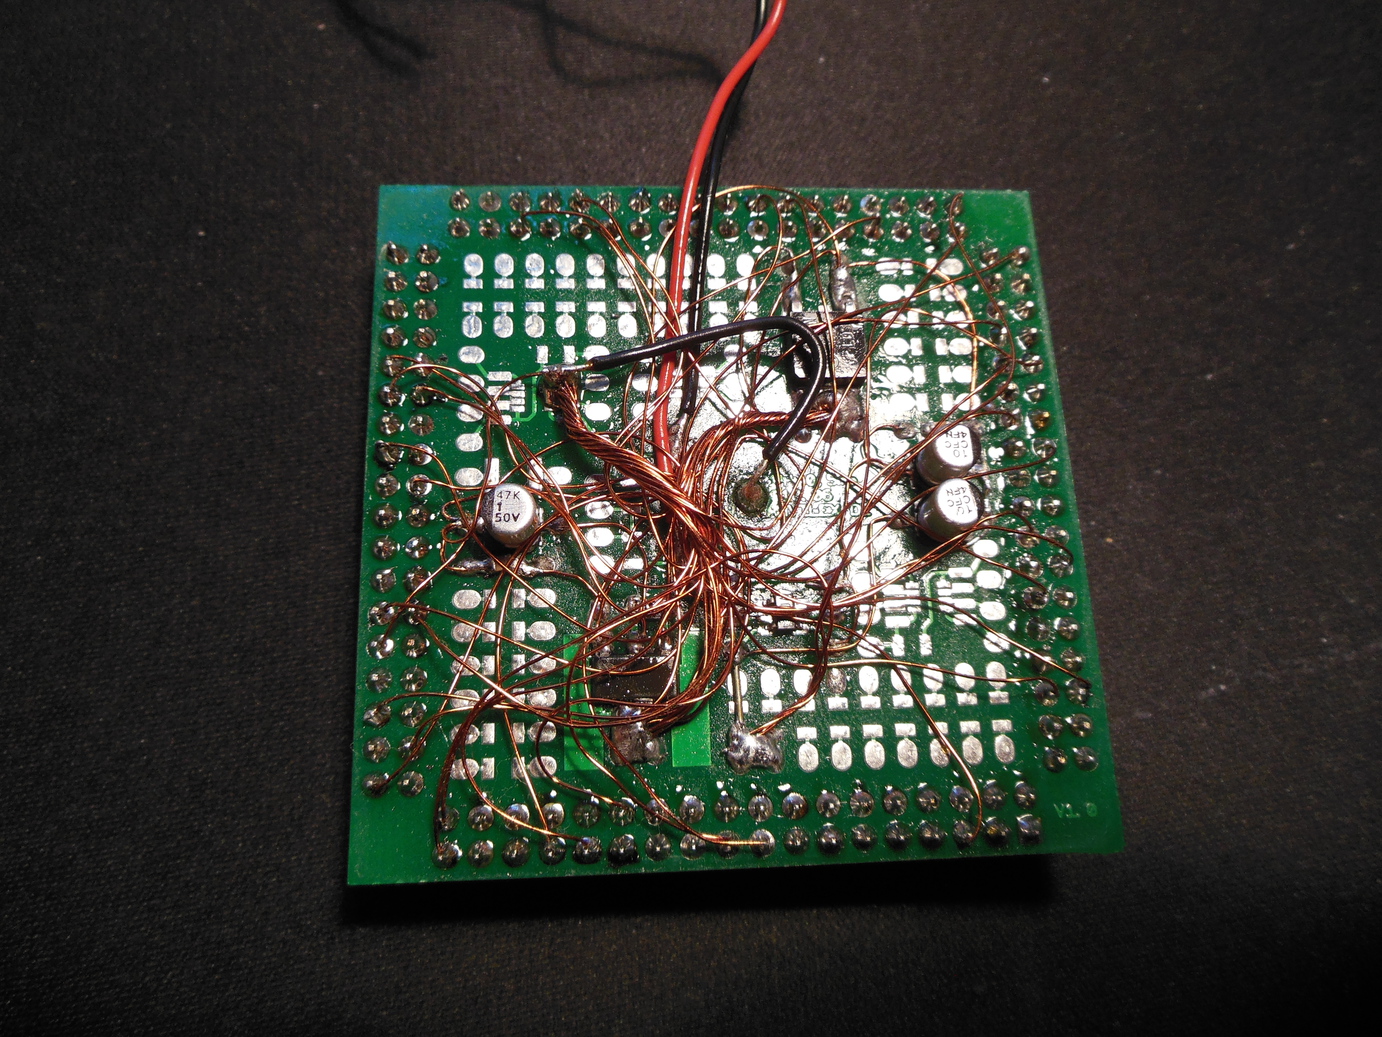
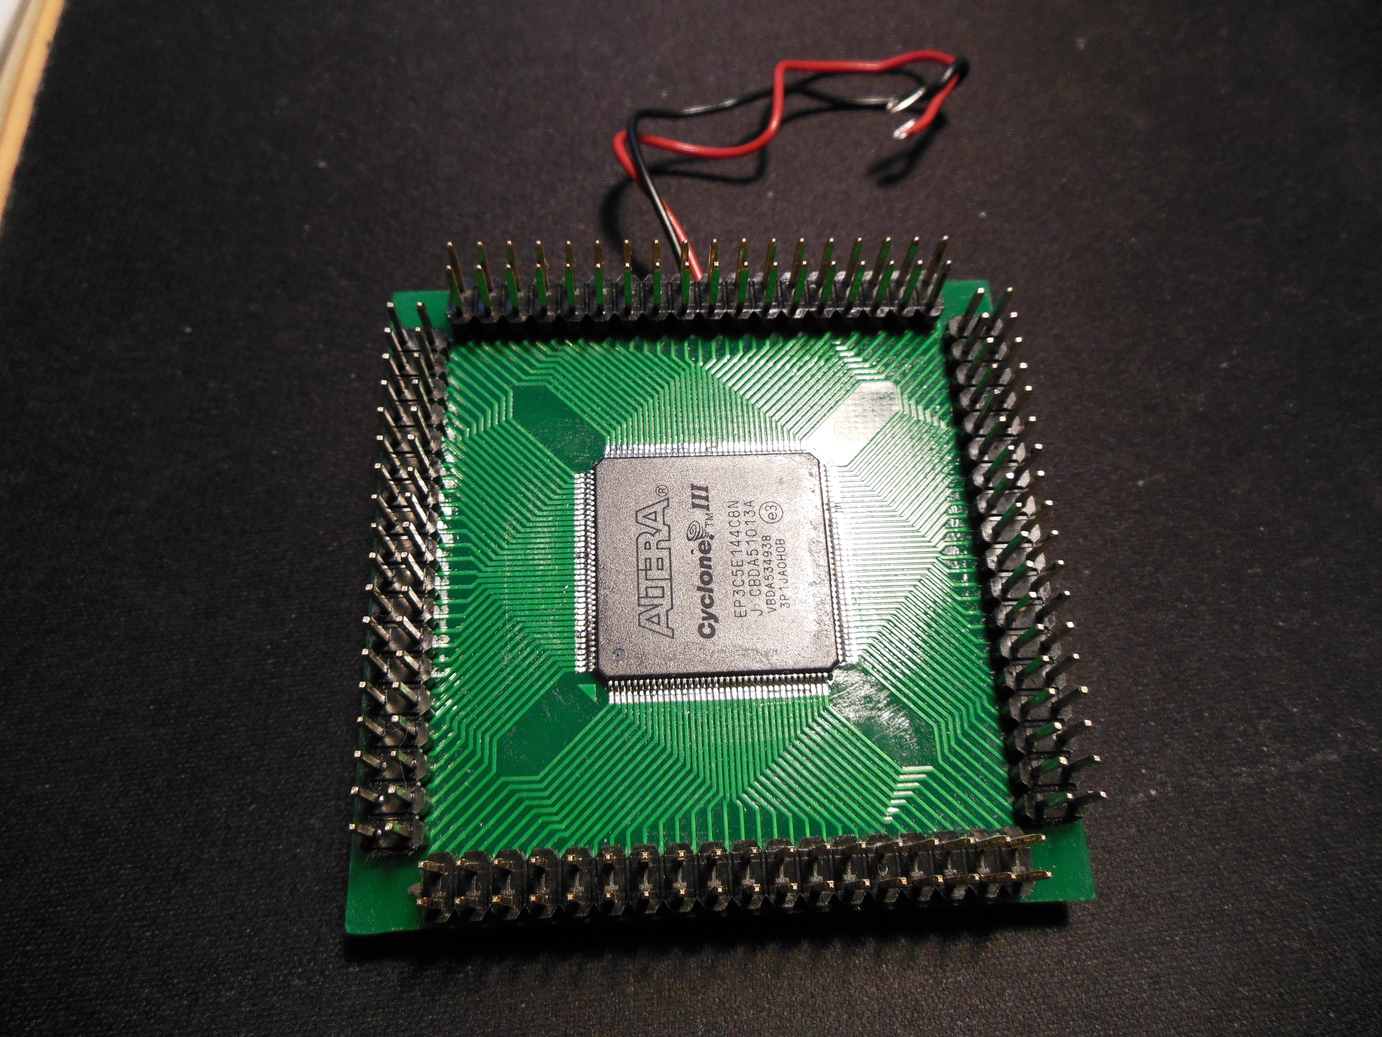
Here are two pictures, showing an Altera FPGA mounted on an adapter PCB from Anvilex. The Adapter is briefly described here.
IMPORTANT: Before mounting the FPGA to the board, you have to drill a hole through the PCB, since the Altera FPGA has a GND pad at the bottom side of the IC! So, you have to connect this GND to some power supply GND.
All other components, which are placed at the bottom side of the PCB, are responsible for generating three different voltages (1.2V, 2.5V and 3.3V) out from a DC power supply. The nice thing about the PCB is that it has all the pads/place for mounting these components.

- Altera FPGA board front view.
- Altera FPGA board back view